How do I add Google Font
This guide provides a step-by-step tutorial on how to add one or more Google Fonts to your website.
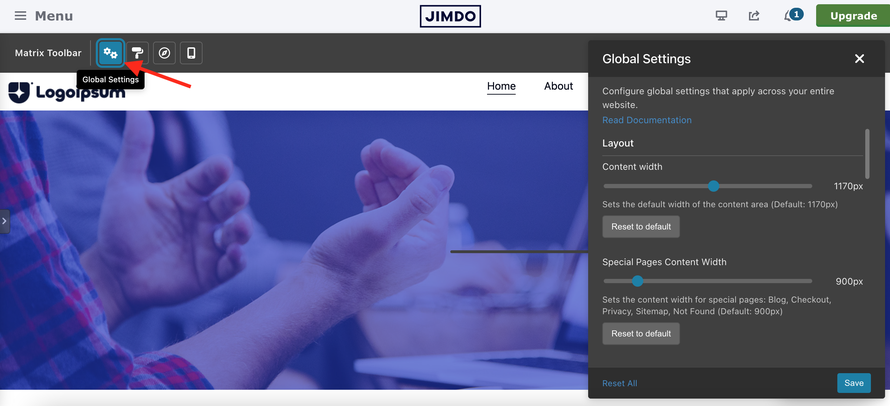
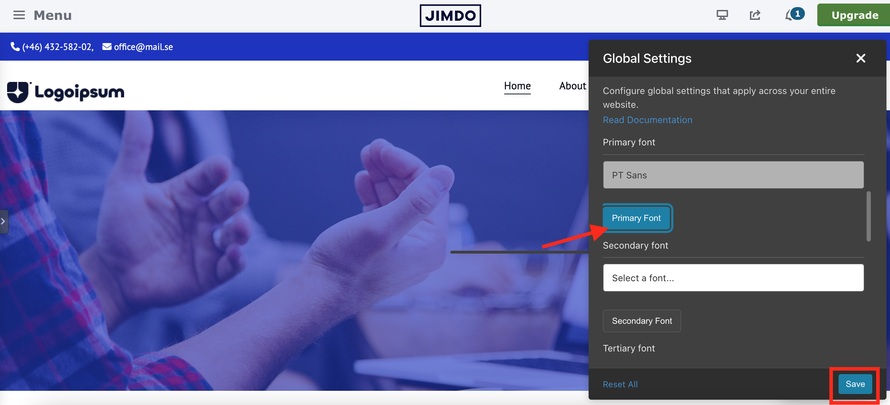
In the Matrix toolbar, select Global Settings. In the popup that opens, scroll down to the Font Selection section.
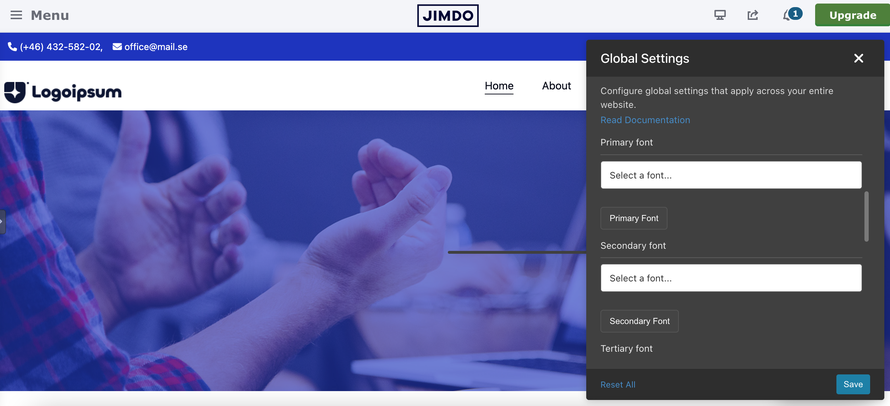
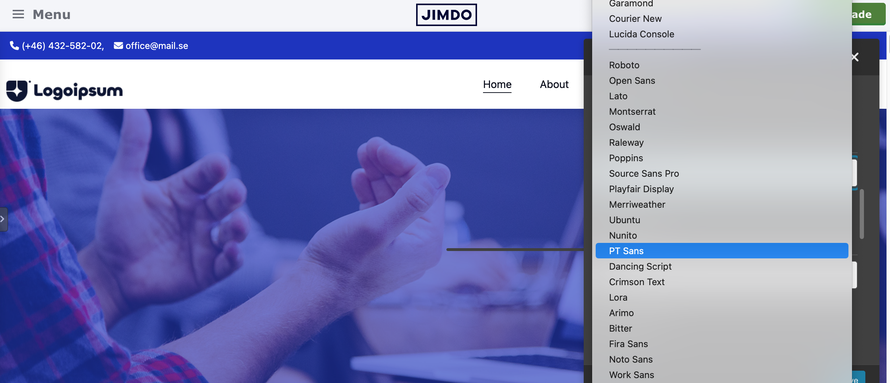
Select a font from the Primary Font dropdown. Then click the “Primary Font” button and, finally, click the Save button to confirm the changes.
Open the Style Editor in the Matrix Toolbar and scroll down to Template Configuration. Click the input field and, in the popup that opens, select “Primary Font.” Then click the Save button in the Style Editor to confirm the changes.
Adding the Primary Font to the Template Configuration allows you to apply the selected font globally to all elements of your website. Alternatively, you can apply it only to specific sections, such as navigation, headings, buttons, and other elements.

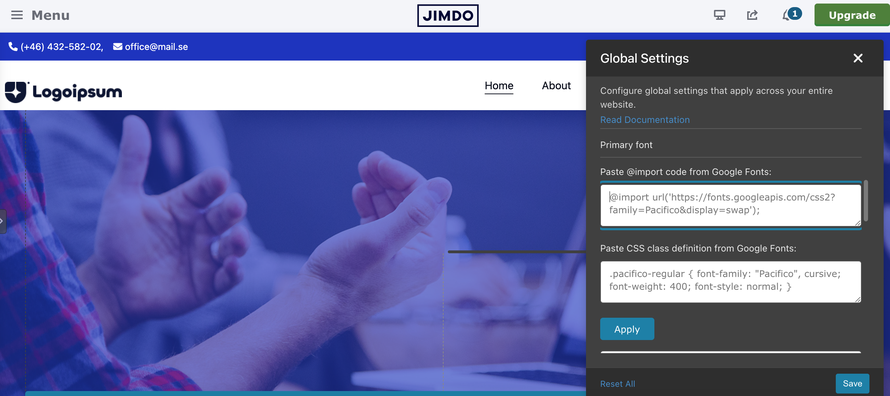
You can add up to three different Google Fonts to your website. If the font you want is not available in the preselected list, choose the last option “Other Google Fonts” and add it manually.